【已解决】MySQL 8.0 免安装版在mysqld --install 时候提示:Install/Remove of the Service Denied!
- mysql
- 时间:2023-04-04 10:26
- 3632人已阅读
简介
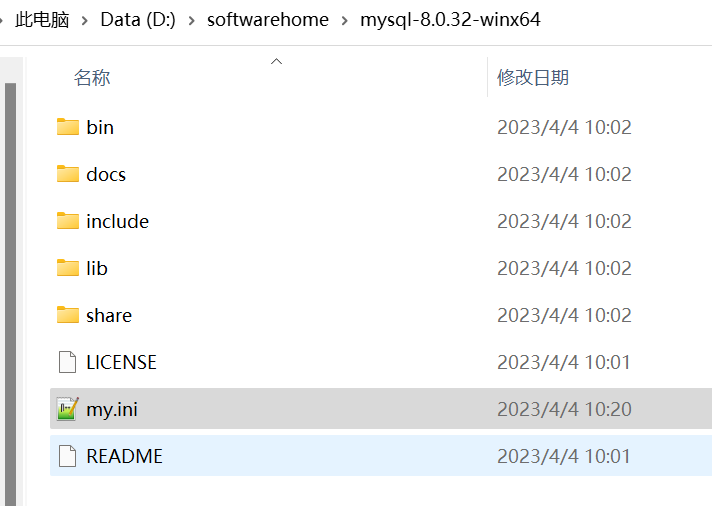
从Oracle官网下载了:https://cdn.mysql.com//Downloads/MySQL-8.0/mysql-8.0.32-winx64.zip解压之后,想安装成Windows服务,提示如下:感觉好像是是权限不够。那么使用管理员运行cmd,然后在执行上面命令,依然是不行了。问题原因:缺少my.ini文件进入MySQL目录,里面是缺少了配置文件my.ini,我们需要自己创建。在这里配置
🔔🔔🔔好消息!好消息!🔔🔔🔔
有需要的朋友👉:联系凯哥
从Oracle官网下载了:https://cdn.mysql.com//Downloads/MySQL-8.0/mysql-8.0.32-winx64.zip
解压之后,想安装成Windows服务,提示如下:

感觉好像是是权限不够。那么使用管理员运行cmd,然后在执行上面命令,依然是不行了。
问题原因:缺少 my.ini文件
进入MySQL目录,里面是缺少了配置文件my.ini,我们需要自己创建。

在这里配置文件有两种编写方式(如下):
第一种:
打开my.ini 文件,将下方配置信息填入。
basedir和datadir是你MySQL存放的位置,改成自己的。
port是MySQL的启动端口号,需要更改端口号就改这里。
使用这种方式不好的地方就是你MySQL文件夹更换了位置,你的配置文件的指向位置也要改,比较麻烦。
[mysqld]
basedir ="G:\mysql-8.0.30-winx64"
datadir ="G:\mysql-8.0.30-winx64\data"
port=3306
server_id =10
character-set-server=gbk
character_set_filesystem=gbk
[client]
port=3306
default-character-set=gbk
[mysqld_safe]
timezone="CST"
[mysql]
default-character-set=utf8
第二种:
打开my.ini 文件,将下方配置信息填入,真正起到作用的配置就三行代码,因为其他都被“#”注释掉了,你看需要哪些配置就将其放开改一下就行。
这一种配置好处就是你的MySQL文件夹以后可以随便移动位置,比较方便,当然我使用的是第二种。
# For advice on how to change settings please see
# http://dev.mysql.com/doc/refman/5.6/en/server-configuration-defaults.html
# *** DO NOT EDIT THIS FILE. It's a template which will be copied to the
# *** default location during install, and will be replaced if you
# *** upgrade to a newer version of MySQL.

[mysqld]

# Remove leading # and set to the amount of RAM for the most important data
# cache in MySQL. Start at 70% of total RAM for dedicated server, else 10%.
# innodb_buffer_pool_size = 128M

# Remove leading # to turn on a very important data integrity option: logging
# changes to the binary log between backups.
# log_bin

# These are commonly set, remove the # and set as required.
# basedir = .....
# datadir = .....
# port = .....
# server_id = .....


# Remove leading # to set options mainly useful for reporting servers.
# The server defaults are faster for transactions and fast SELECTs.
# Adjust sizes as needed, experiment to find the optimal values.
# join_buffer_size = 128M
# sort_buffer_size = 2M
# read_rnd_buffer_size = 2M

sql_mode=NO_ENGINE_SUBSTITUTION,STRICT_TRANS_TABLES
port=3306

配置好之后,使用管理员,运行cmd,在执行mysqld --install

就可以install成功了。